Documentation
Microsoft Exchange Online Connector
For a general introduction to the connector, please refer to RheinInsights Microsoft Exchange Online Search and RAG Connector.
Entra Id Configuration
Application Registration
The connector acts as an Entra Id application. This application must be registered as follows
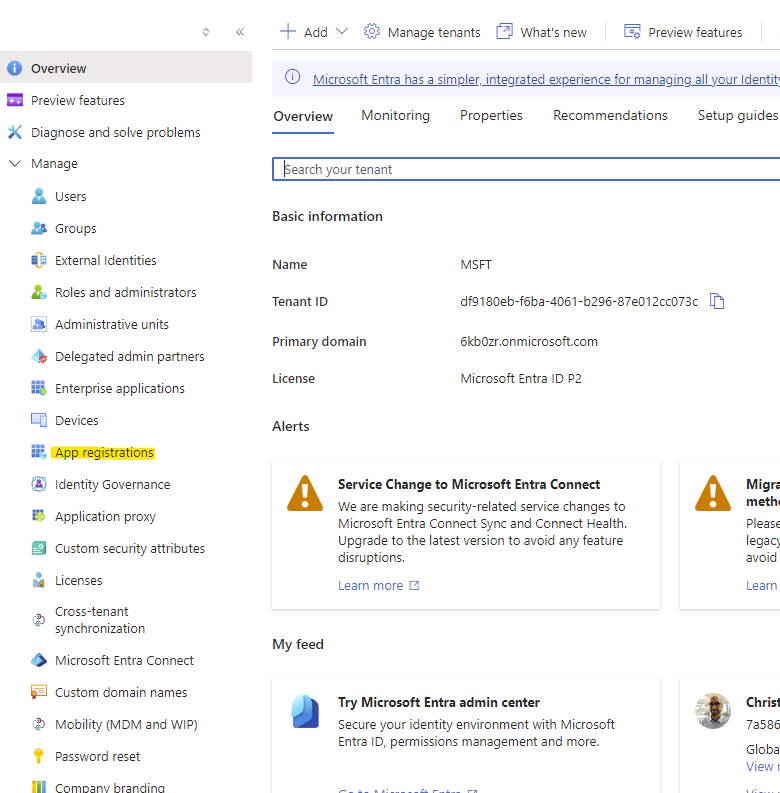
Navigate to https://portal.azure.com
Open Entra Id
Open App registrations
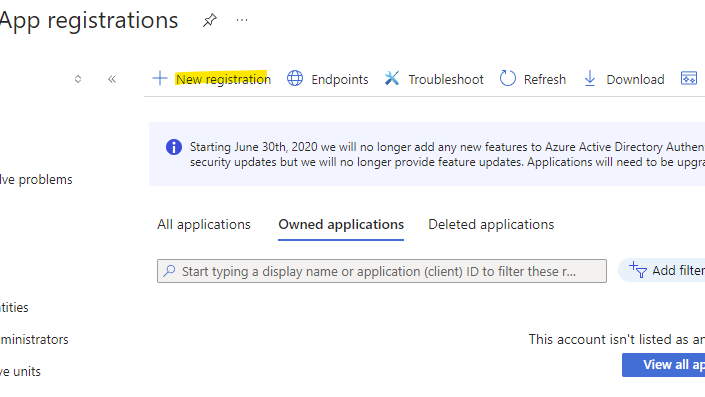
Click on New registration
Give it a name
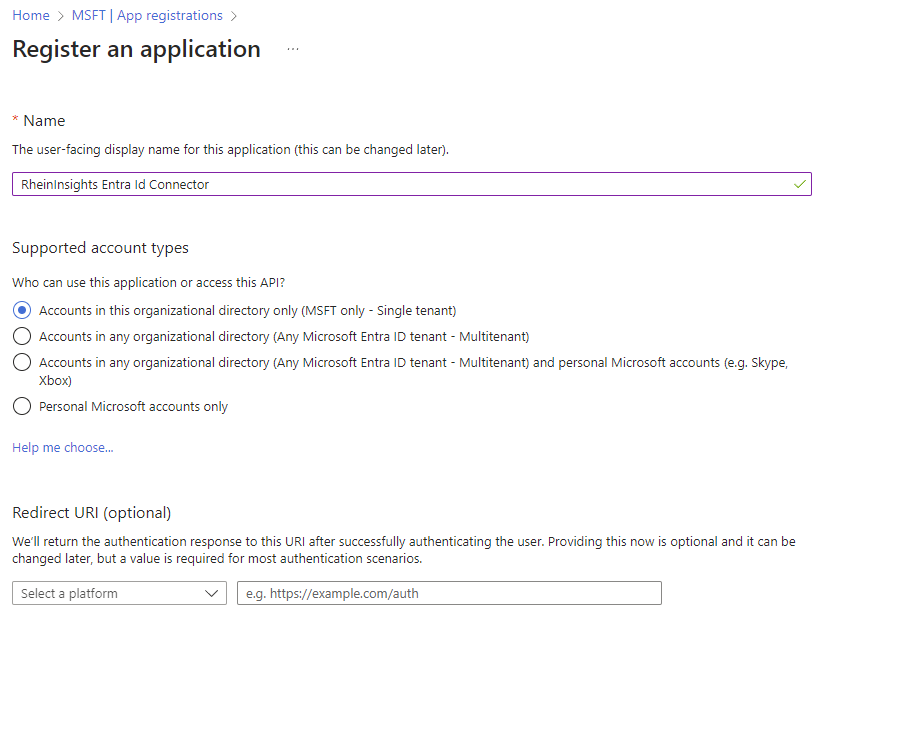
Click on Register
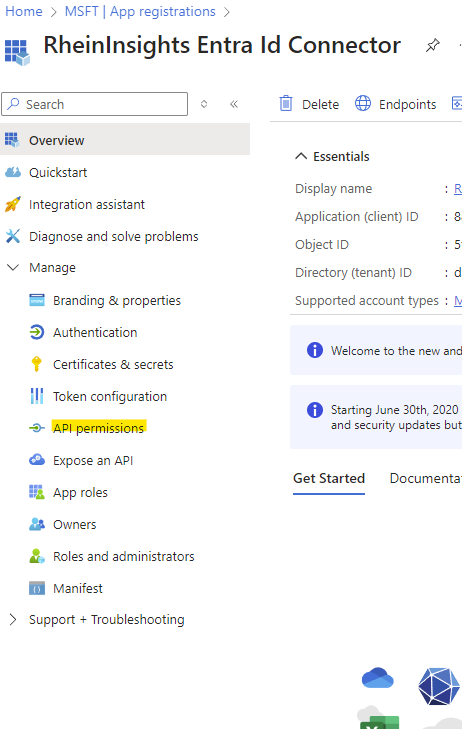
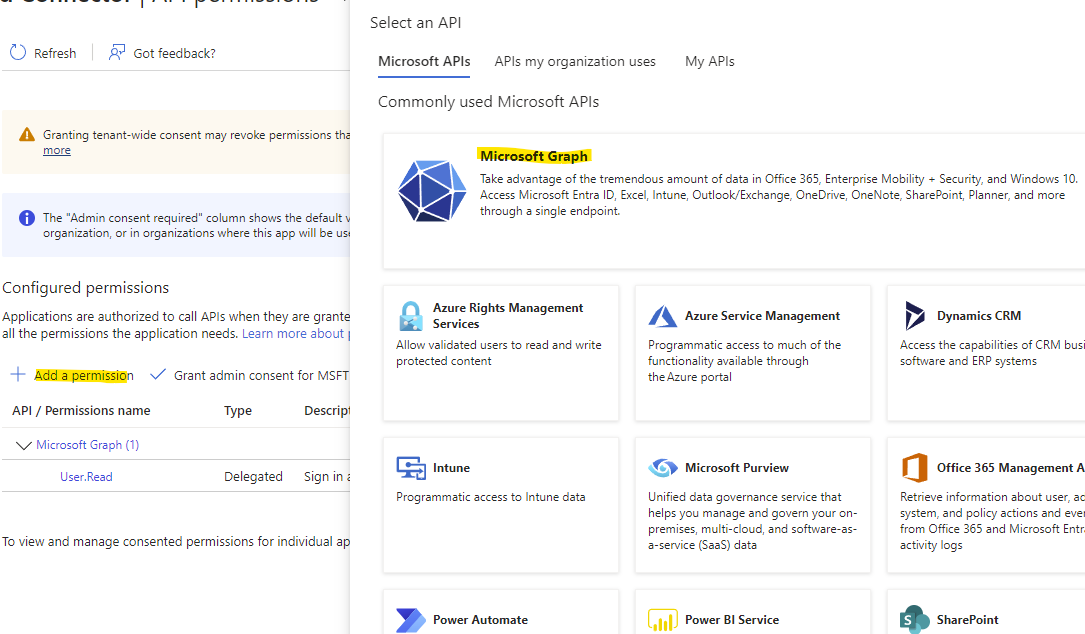
Click on API permissions
Add a Permission
Click on Microsoft Graph
Choose Application Permissions
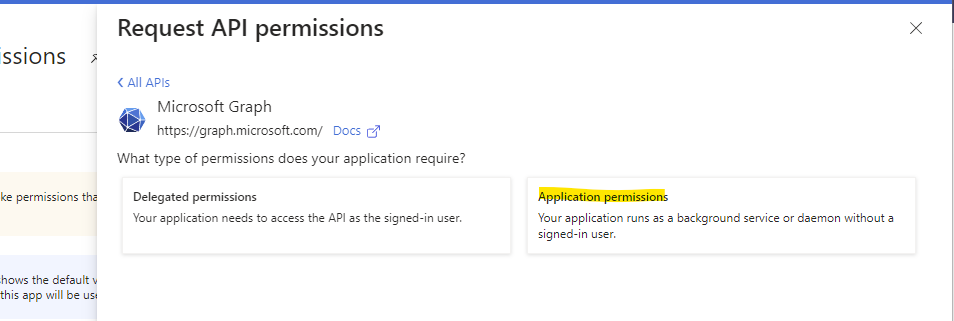
Please search for the following permissions and check the respective boxes:
Mail.ReadBasic.All
User.Read.All
Mail.Read
MailboxSettings.Read
Click on Add permissions
Grant the consent
Got to certificates and secrets
Generate a new Client Secret
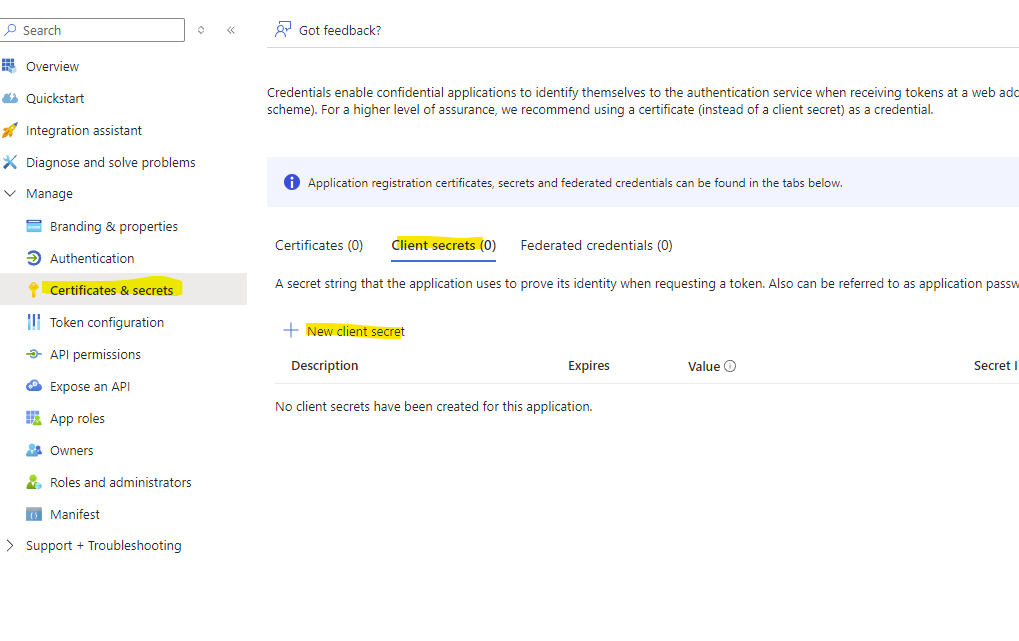
Give it a name and an expiration date
Create the secret
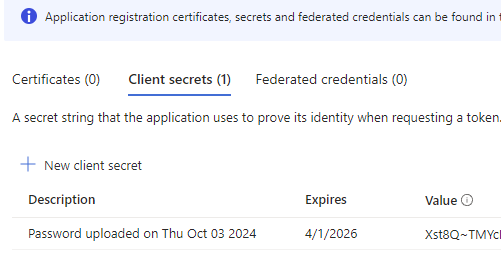
Then make a note of the value
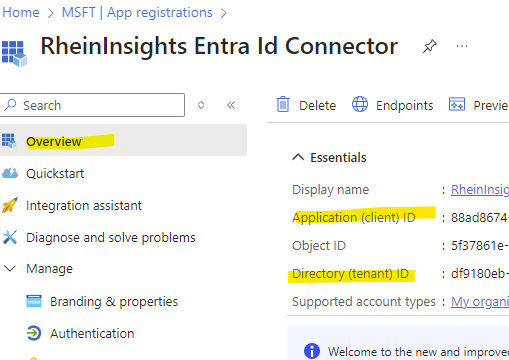
Click on Overview and make a note of client Id and tenant Id
Content Source Configuration
The content source configuration of the connector comprises the following mandatory configuration fields.
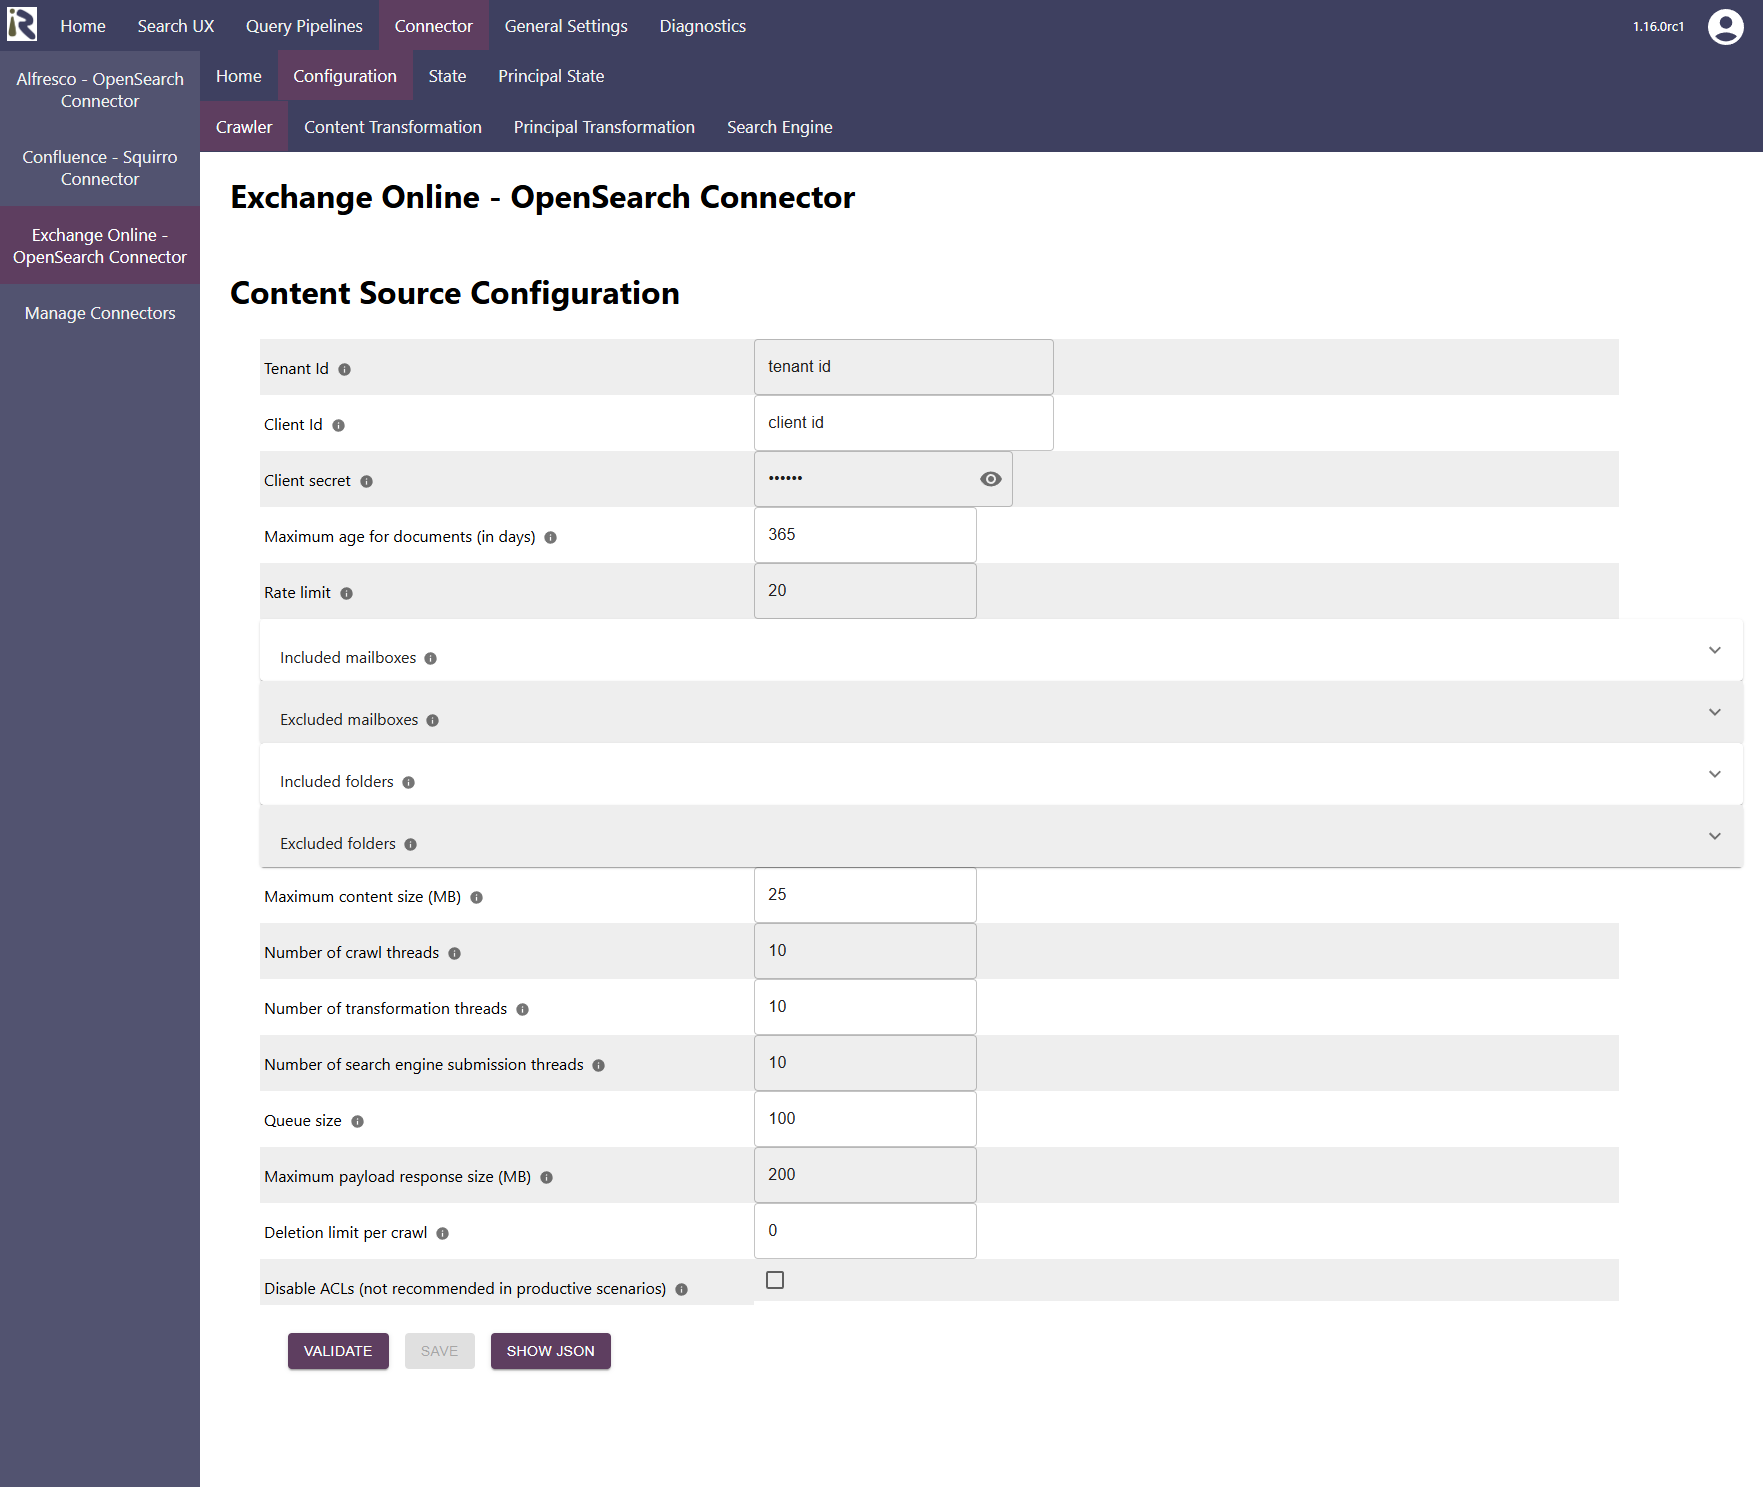
Within the connector’s configuration please add the following information:
Tenant Id. Is the tenant Id information from Step 19 above.
Client Id. Is the client Id information from Step 19 above.
Client secret is the client secret from Step 18 above.
Maximum age for documents (in days). This determines if mails should be dropped in incremental crawls, if they exceed the specified age in days. If everything should be indexed, then please add -1.
Rate limit: You can specify the number of API calls per second.
Included mailboxes. Here you can add e-mail addresses as Java regular expressions. If given, only these mailboxes will be crawled. All previously indexed mailboxes which are not included anymore will be deleted from the search index.
Excluded mailboxes. Here you can add e-mail addresses as Java regular expressions. If given, these mailboxes will not be crawled. Then all previously indexed mailboxes which are not included anymore will be deleted from the search index.
Included folders. Here you can add folder names or ids as Java regular expressions. If given, only these folders (in each mailbox) will be crawled.
Excluded folders. Here you can add folders names or ids as Java regular expressions. If given, these folders (in any mailbox) will not be crawled.
After entering the configuration parameters, click on validate. This validates the content crawl configuration directly against the content source. If there are issues when connecting, the validator will indicate these on the page. Otherwise, you can save the configuration and continue with Content Transformation configuration.
Recommended Crawl Schedules
Content Crawls
The connector supports incremental crawls. These are based on the information the Exchange Online API provides, which does not include deletions. This means that the change log is not complete and factor and full scan crawls are needed to detect deletions. Therefore depending on your requirements, we recommend to run a Full Scan every few days or every week.
For more information see Crawl Scheduling .
Furthermore, there is no Graph API to extract access permissions to shared mailboxes. Shared Mailbox permissions must be extracted via an Exchange management PowerShell script and provided as JSON document to the connector.