Documentation
Microsoft SharePoint Online Connector
For a general introduction to the connector, please refer to https://www.rheininsights.com/en/connectors/sharepoint-online.php .
Entra Id Configuration
Creation of Private and Public Key
The connector uses a public key to authenticate against the Graph and SharePoint APIs. These keys are created by an administrator and not by the connector or Azure. You will need to upload the public key in one of the steps below.
A private and public key combination can be created by using openssl as follows
openssl req -newkey rsa:2048 -new -nodes -x509 -days 3650 -keyout privatekey.pem -out publickey.pem
where the resulting publickey.pem is the public key and privatekey.pem is the private key.
Application Registration
The connector acts as an Entra Id application. This application must be registered as follows
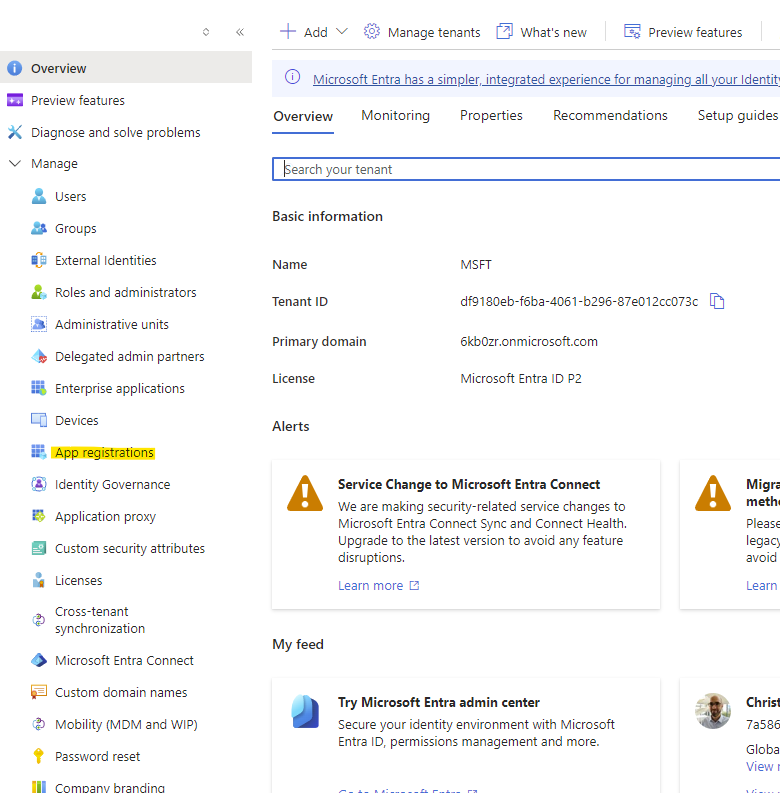
Navigate to https://portal.azure.com
Open Entra Id
Open App registrations
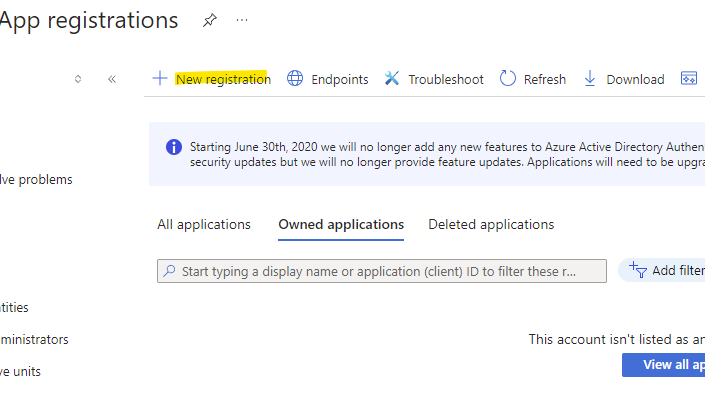
Click on New registration
Give it a name
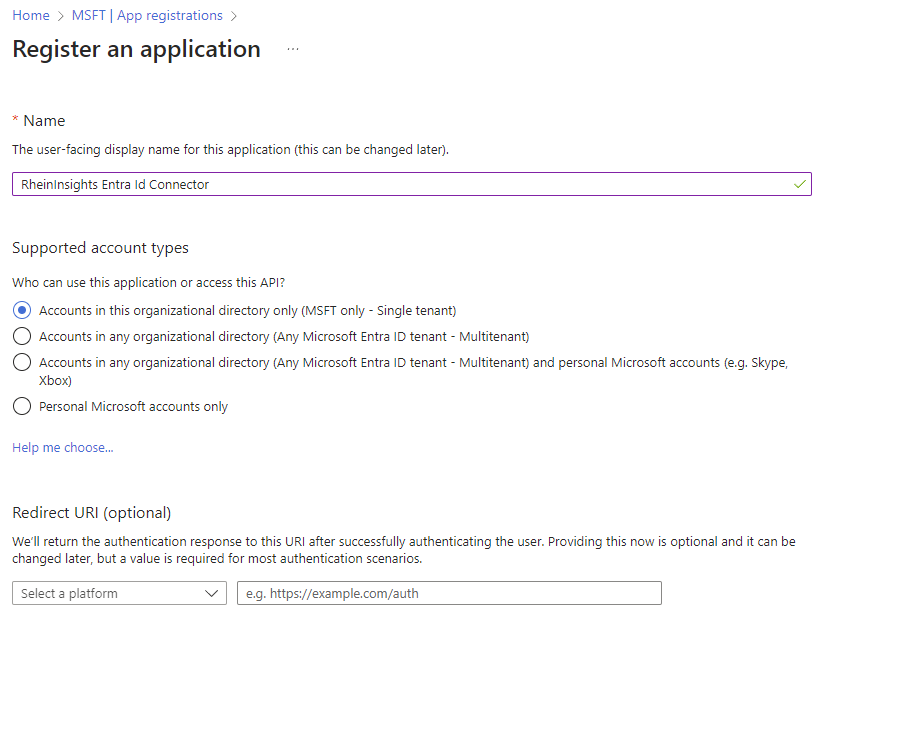
Click on Register
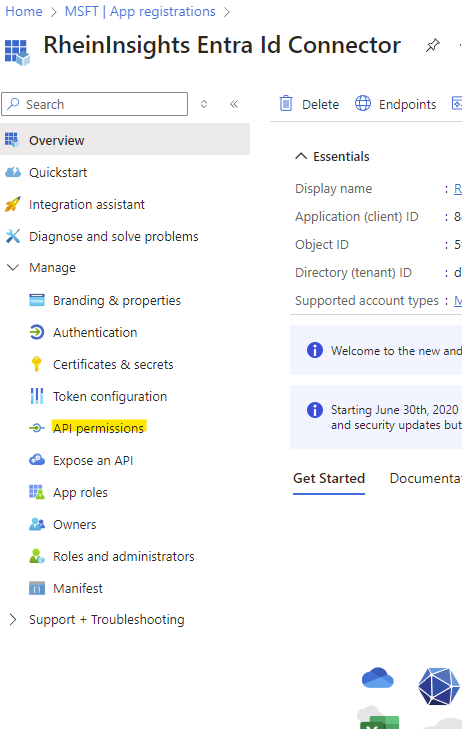
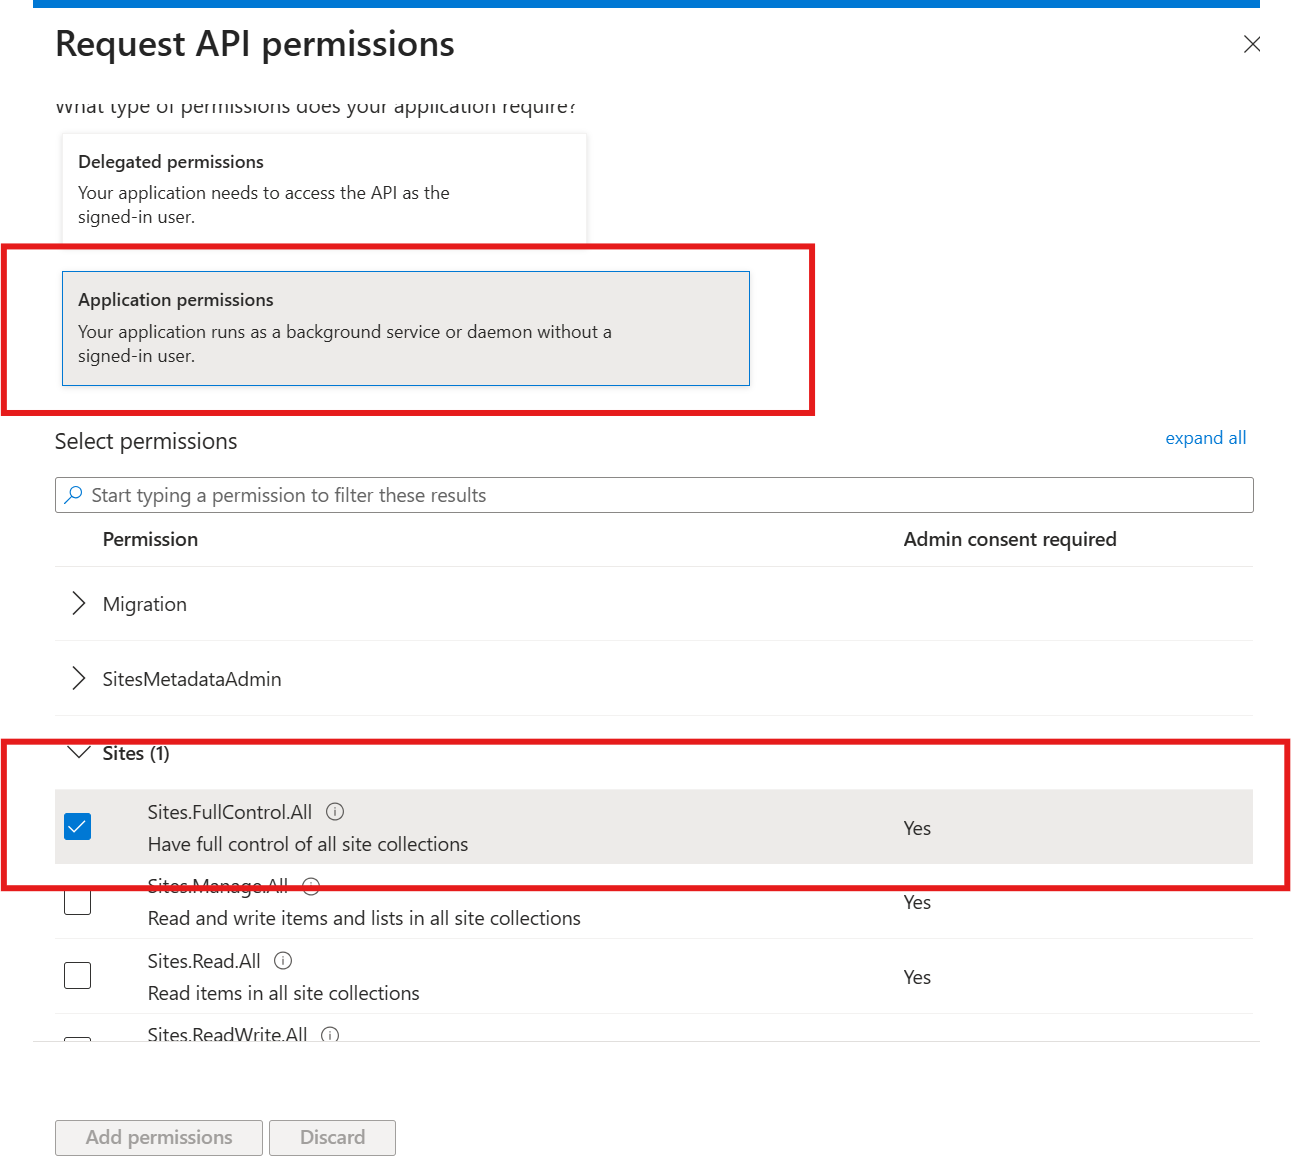
Click on API permissions
Add a Permission
Click on Microsoft Graph
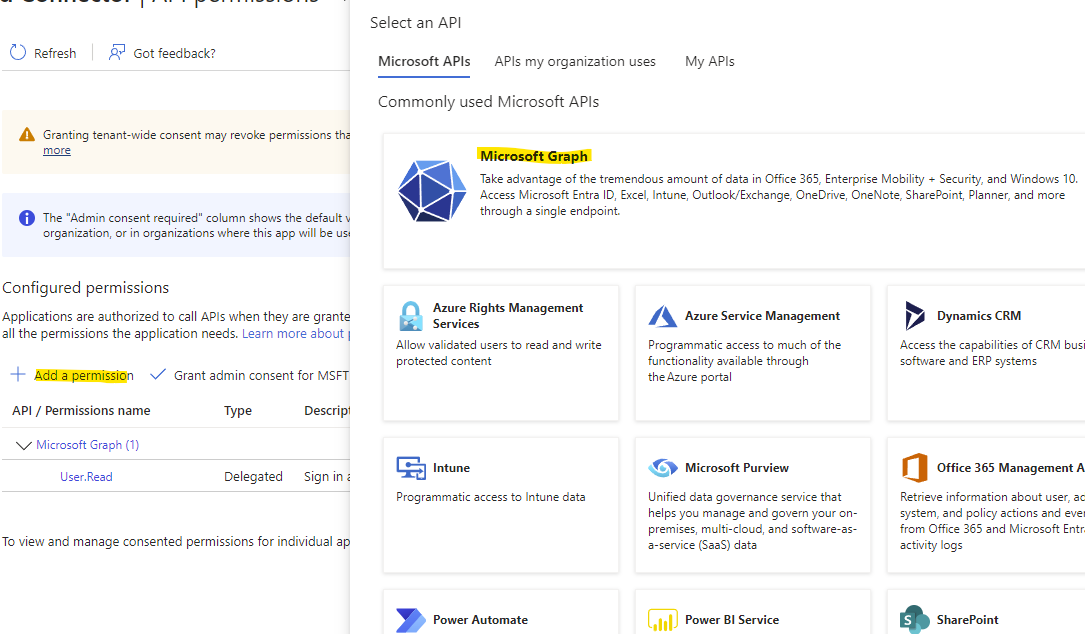
Choose Application Permissions
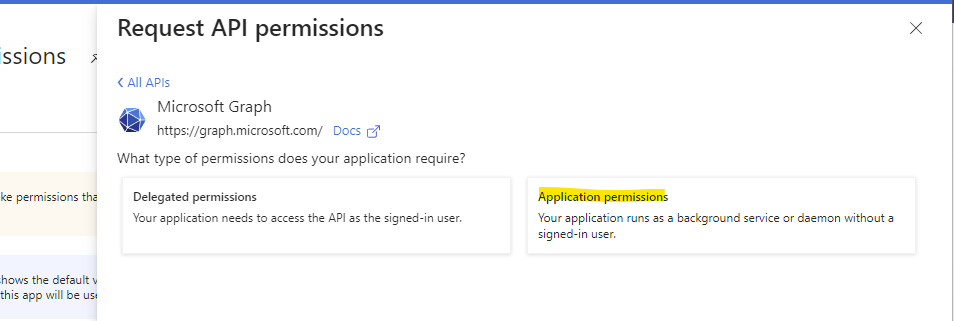
Please search for the following permissions and check the respective boxes:
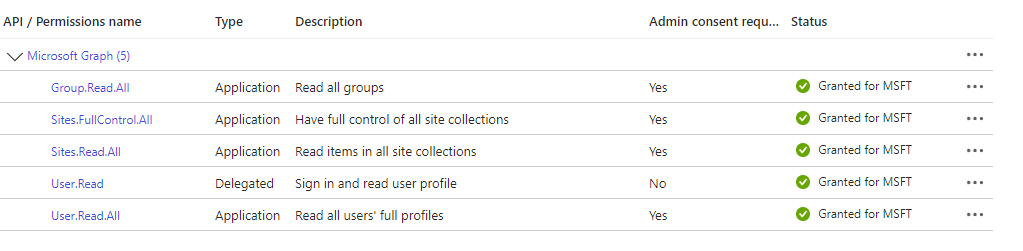
Search for User.Read.All and check the Box
Search for Group.Read.All and check the box
Sites.FullControl.All (needed for accessing the SharePoint Online Site permissions and secure search)
Sites.Read.All
Click on Add permissions
Then click on Add a permission again
Then choose Microsoft SharePoint
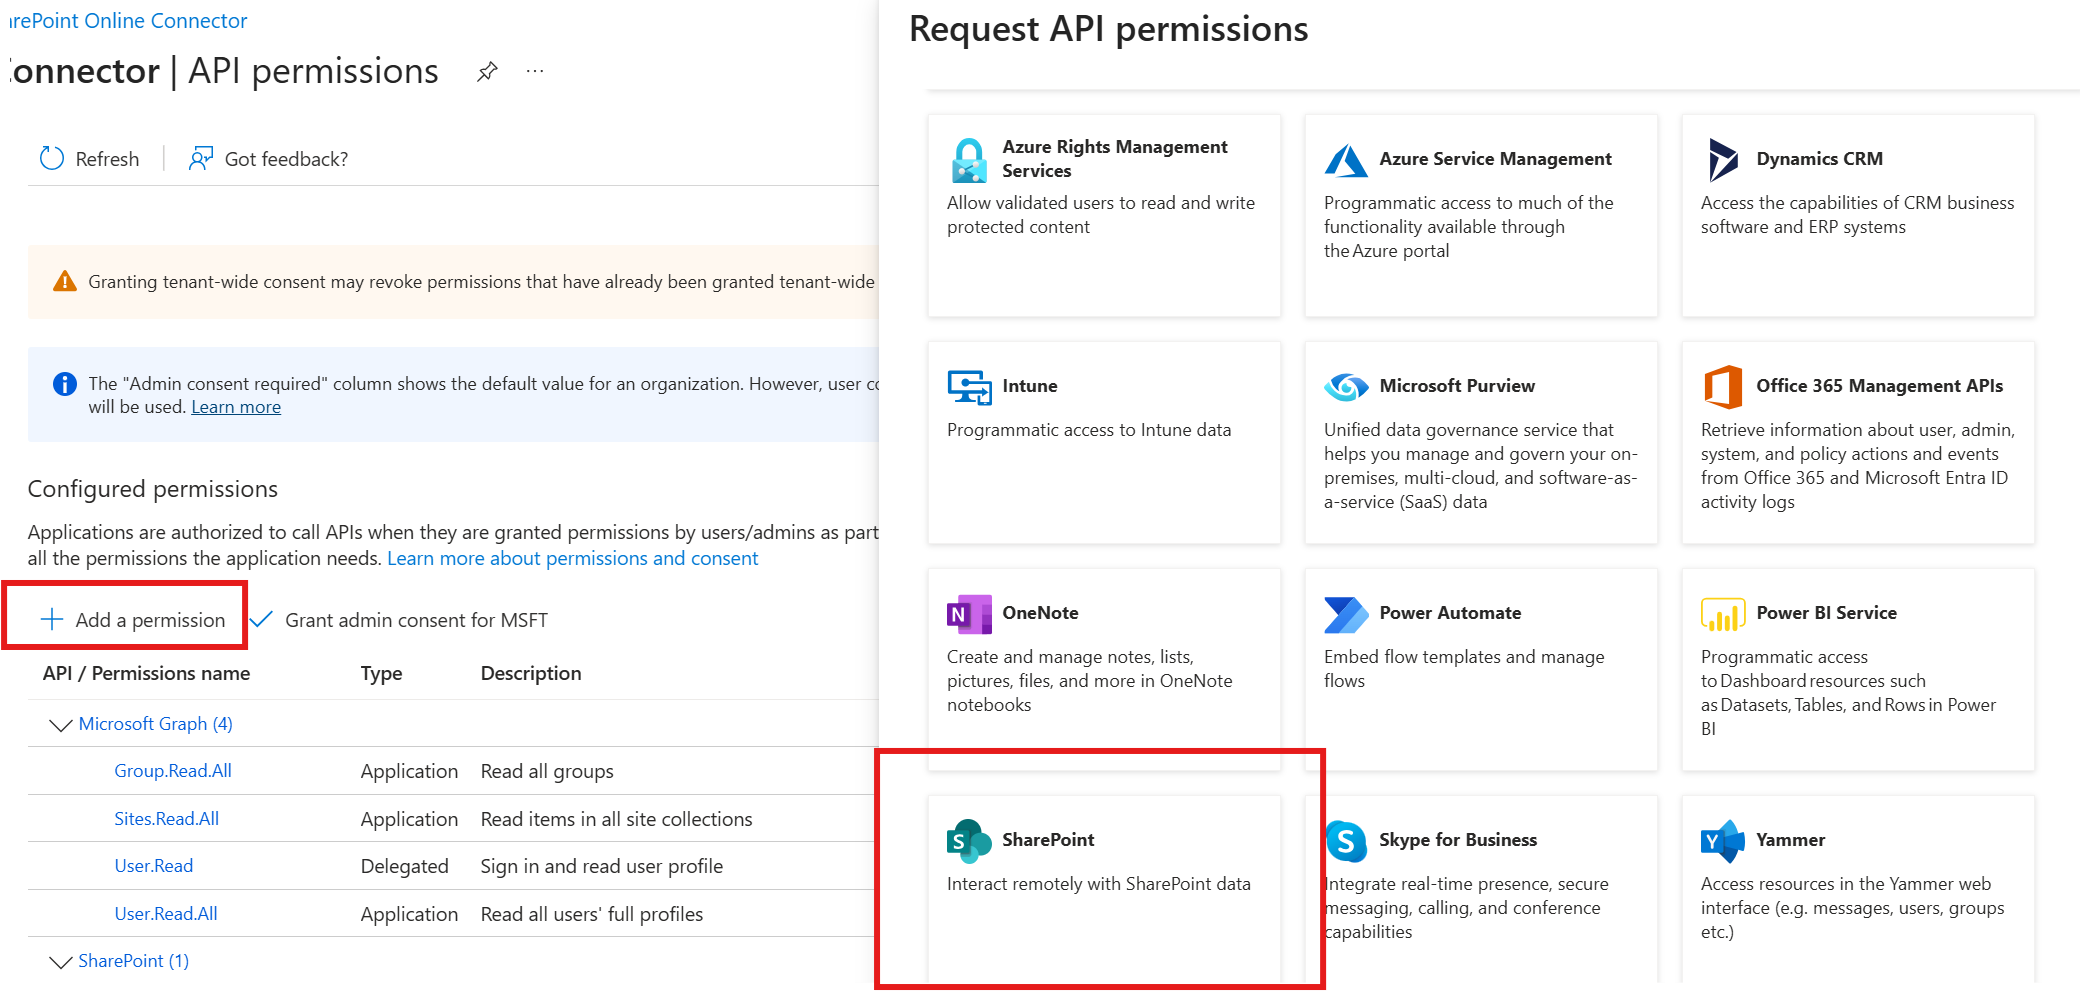
Choose Application Permissions
Choose Sites.FullControl.All
Click on Add permission
Grant admin consent for all chosen permissions
Now open certificates and secrets
Click on Certificates
Here click on Upload certificate and upload the public key, as generated above
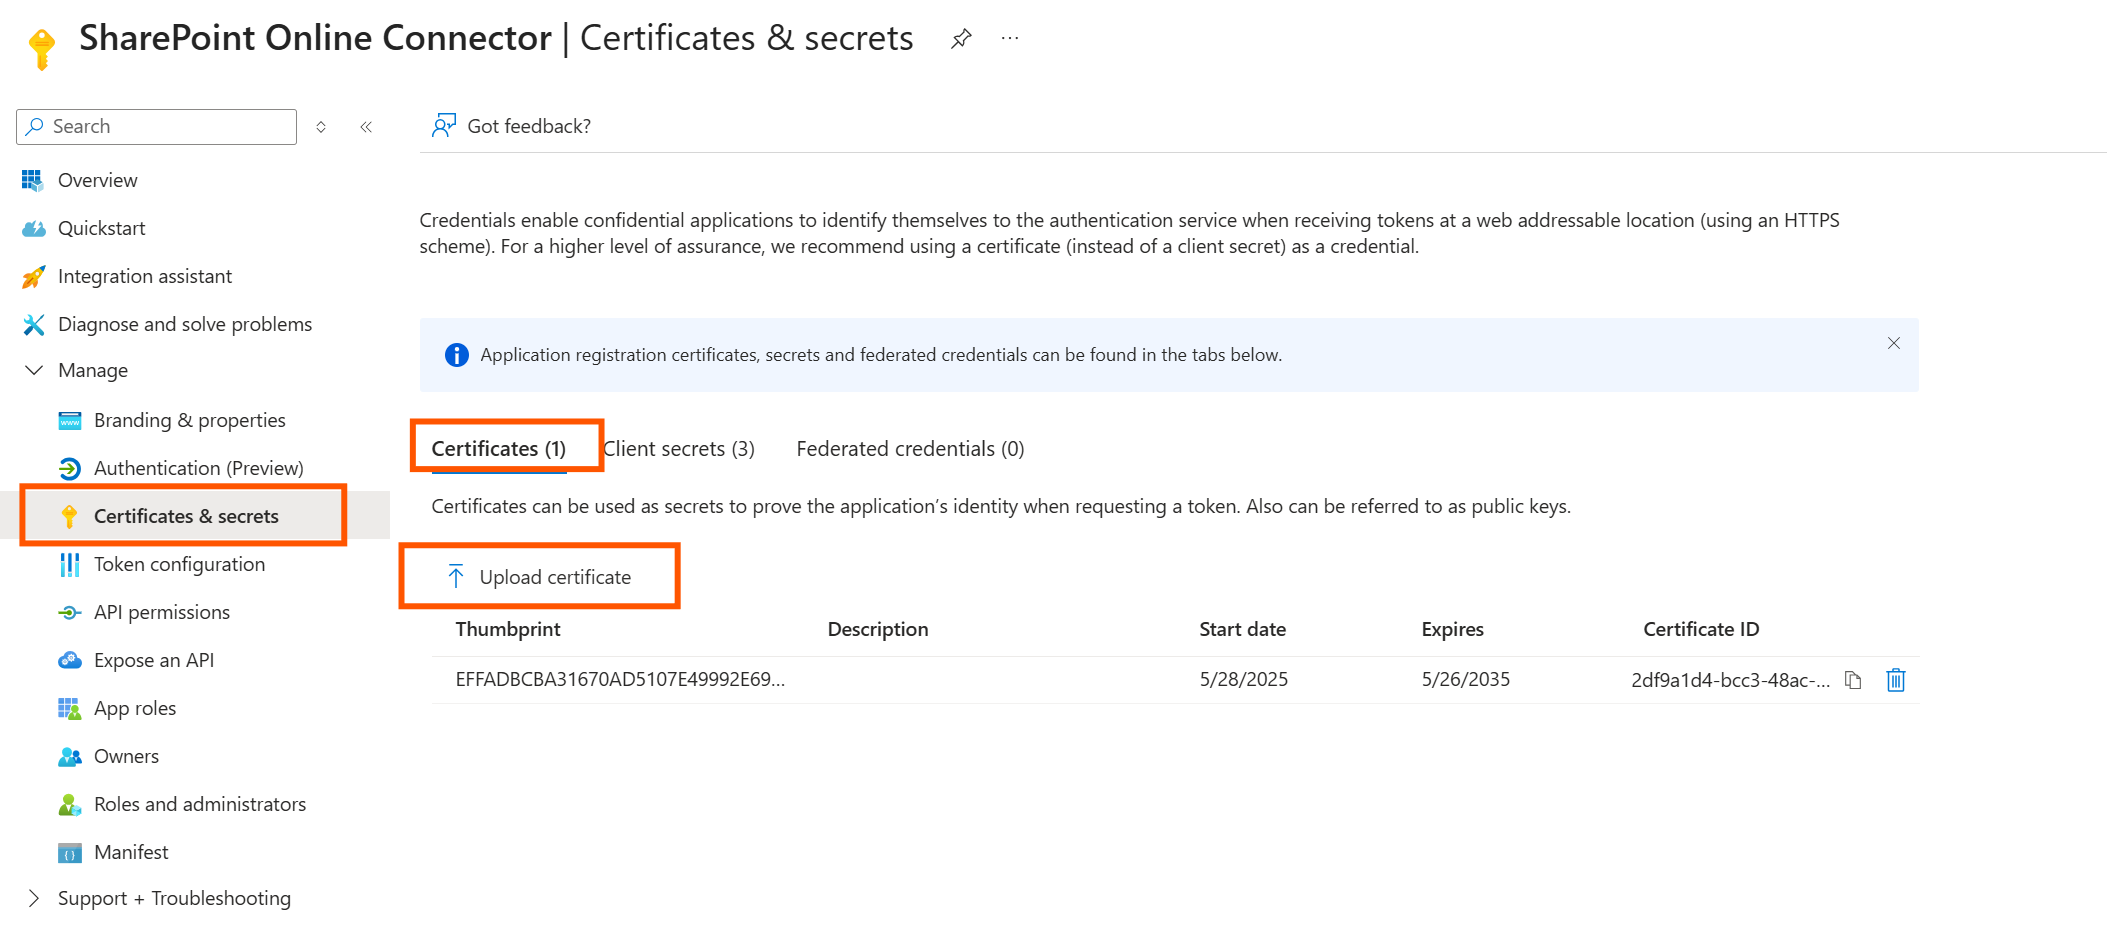
Click on add
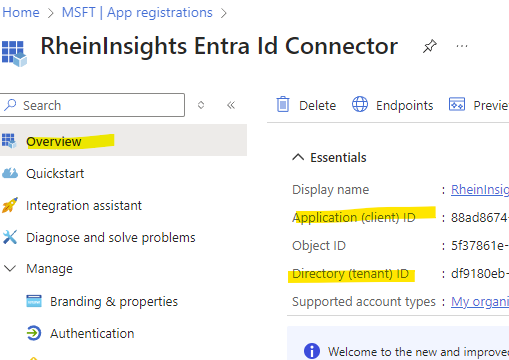
Now, finially click on Overview and make a note of client Id and tenant Id
Content Source Configuration
The content source configuration of the connector comprises the following mandatory configuration fields.
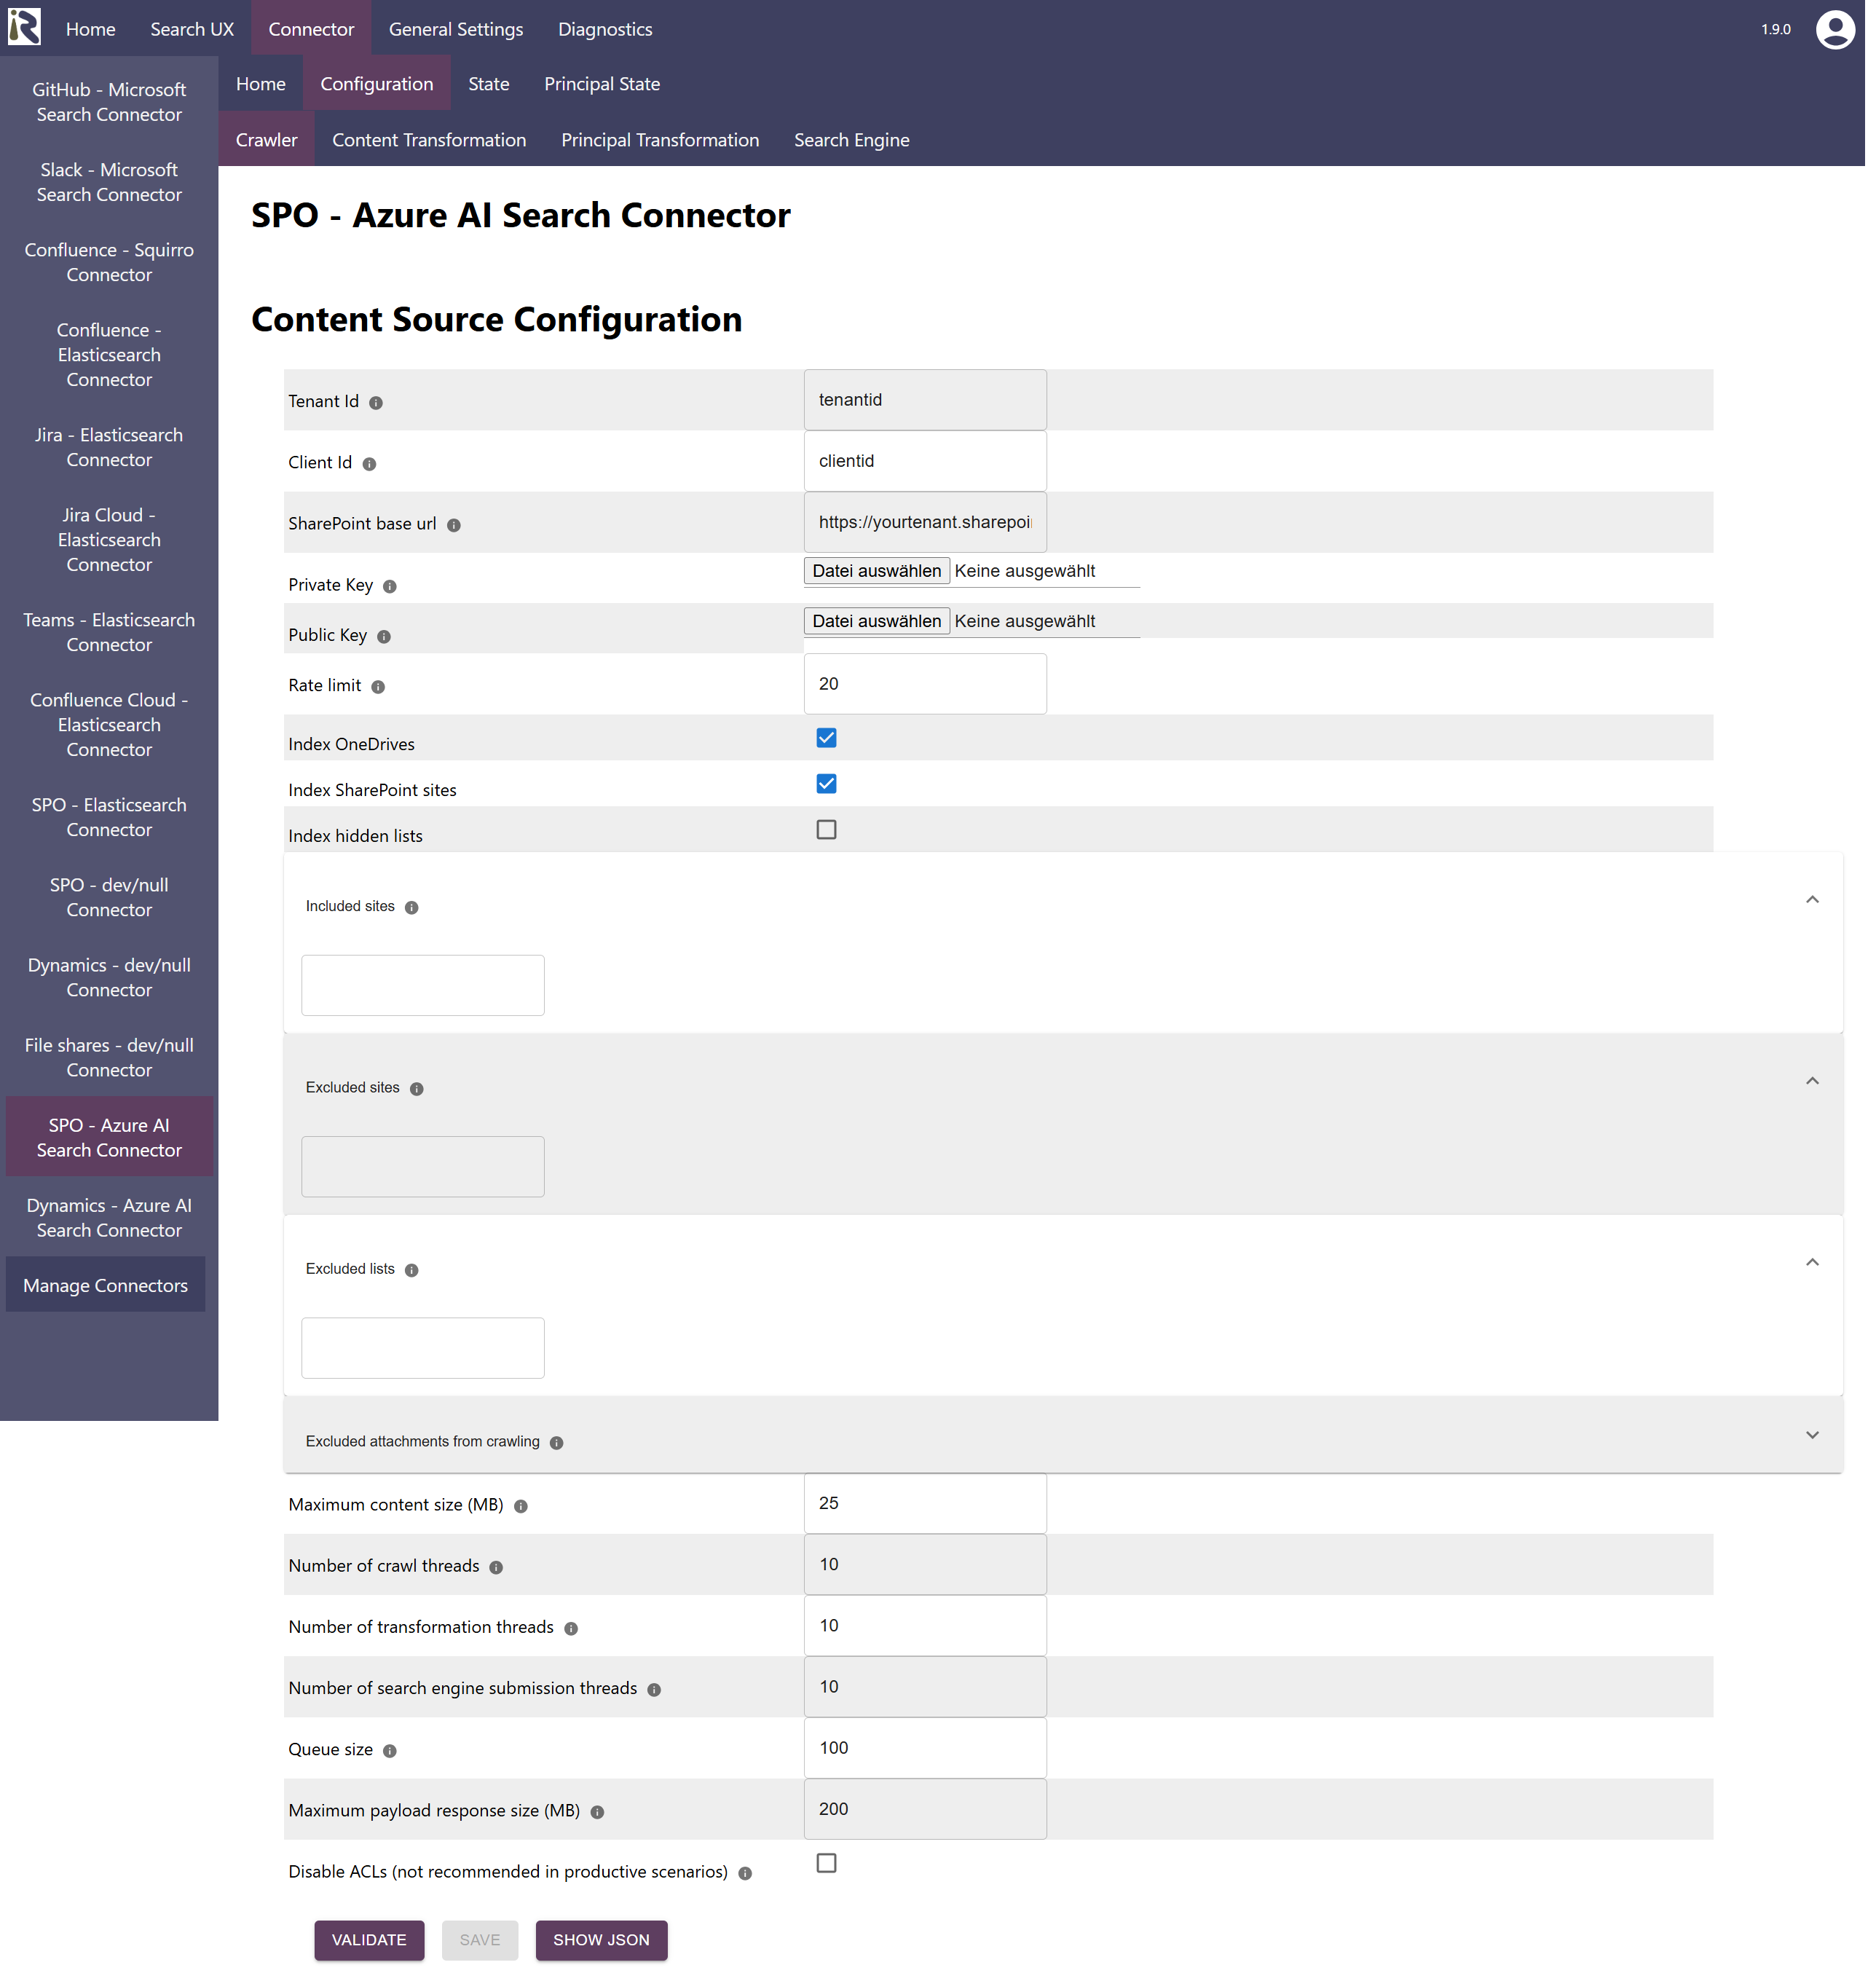
Within the connector’s configuration please add the following information:
Tenant Id. Is the tenant Id information from the steps above.
Client Id. Is the client Id information from the steps above.
SharePoint base URL is the base URL of your tenant, e.g. https://company.sharepoint.com
Private key. Here you need to upload your private key which you generated in the steps above
Public key. Here you need to upload your public key, which you generated in the steps above.
Rate limit: You can furthermore reduce the number of API calls per second.
Index One Drives: If turned on OneDrives are crawled (cf. OneDrive connector)
Index One Drives: If turned on SharePoint Online sites are crawled (cf. SharePoint Online connector)
Index hidden lists: By default, the connector skips hidden SharePoint lists.
Included Sites: here you can add site urls. If given, only these sites will be crawled.
Then all previously indexed sites which are not included anymore will be deleted from the search index.Excluded Sites: here you can add site urls. If given, these sites will be not be crawled.
Then all previously indexed sites which are not included anymore will be deleted from the search index.Excluded attachments: the file suffixes in this list will be used to determine if certain documents should not be indexed, such as images or executables.
After entering the configuration parameters, click on validate. This validates the content crawl configuration directly against the content source. If there are issues when connecting, the validator will indicate these on the page. Otherwise, you can save the configuration and continue with Content Transformation configuration.
Recommended Crawl Schedules
Content Crawls
The connector supports incremental crawls. These are based on the SharePoint changelog and depending on your tenant’s size, these can run every few hours.
The change log might not be complete and factor in all permission changes. Therefore depending on your requirements, we recommend to run a Full Scan every week.
For more information see Crawl Scheduling .
Principal Crawls
Depending on your requirements, we recommend to run a Full Principal Scan every day or less often.
For more information see Crawl Scheduling .