Adding On-Premises Actions to Copilot
June 6, 2025
This blog post briefly describes, how to create a new issue within Jira Data Center, right from a Copilot flow.
We were approached by a customer who was in need of easily usable and secure Copilot knowledge connectors for his on-premises sources, Jira and Confluence. Therefore, they started using our enterprise search connectors. In the course of the discussion, the requirement came up that besides showing tailored knowledge, also issues should be created directly from Copilot.
Extending Copilot to Create Issues in Jira Data Center
The approach to create new tickets from Copilot leverages an on-premises data gateway and the Jira REST API. Integrating it through Copliot Studio and Flows in there is straight-forward. Only, you create issues always using the same technical account, as the approach uses Basic authentication.
In order to configure the integration proceed as follows.
On-Premises Data Gateway
Download and setup Microsoft’s on-on-premise Data Gateway for PowerAutomate. You can find the instructions and download link at https://learn.microsoft.com/en-us/power-automate/gateway-reference.
After installing proceed to Copilot Studio.
Copilot Studio
Create a New Flow
Open Flows
Click on New agent flow
Generate the following flow
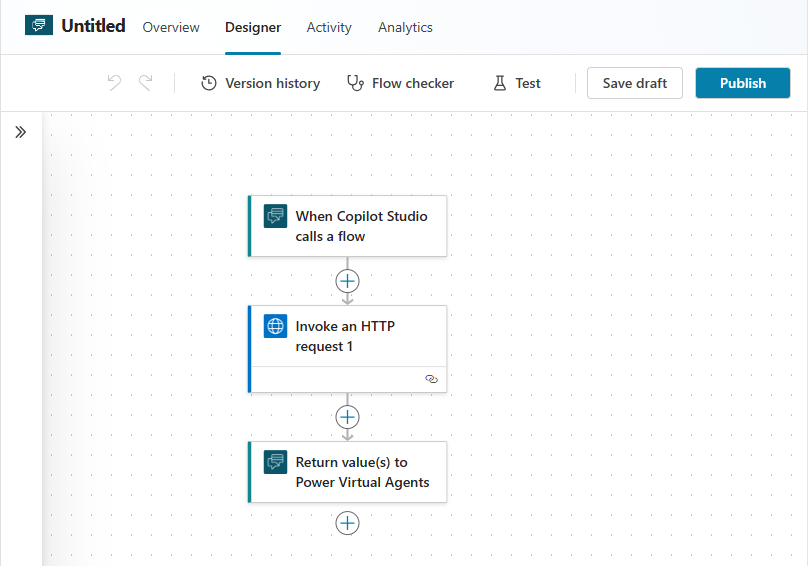
In “When Copilot Studio calls a flow” add two fields “title” and “description”
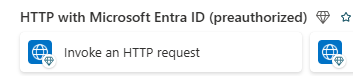
Add an “Invoke an HTTP request (preauthorized)” action
Dialog 1 (Configuring the connection and gateway)
Add a Connection name
Add Resource URI (your Jira URL, <Jira Server>)
Add Base Resource URL (your Jira URL, <Jira Server>)
As authentication type choose “Login using a Basic Gateway”
Add a username and password which is proven to work with Jira.
Please make sure that you do not misspell both, as changing both need to recreate the whole action.Choose the on-premises Gateway you created above
Dialog 2 (Configuring the POST parameters):
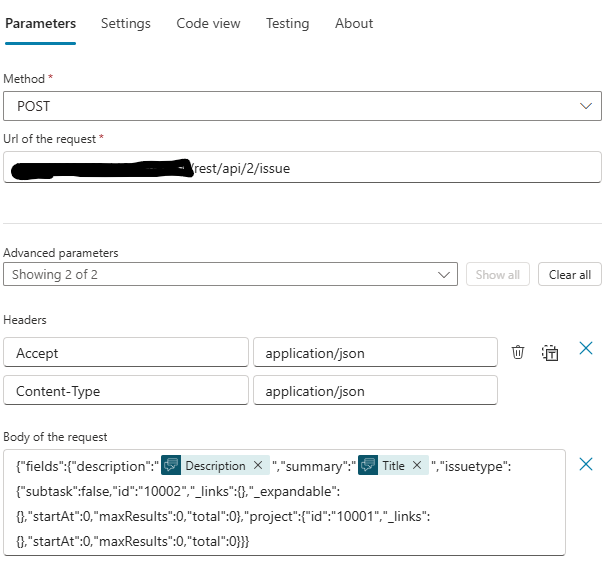
As method choose POST
URL is <Jira Server>/rest/api/2/issue
Headers should be
Accept:application/json
Content-Type:application/json
Body should be something like
{"fields":{"description":"@{triggerBody()?['text_1']}","summary":"@{triggerBody()?['text']}","issuetype":{"subtask":false,"id":"10002","_links":{},"_expandable":{},"startAt":0,"maxResults":0,"total":0},"project":{"id":"10001","_links":{},"startAt":0,"maxResults":0,"total":0}}}
whereissuetype.id must be the right id of an issue type in your Jira
project.id must be the id of the project, where you like to see the tickets created
triggerBody[text_1] is the reference to the description from Step 4 above
triggerBody[text] is the reference to the title from Step 4 above
Now, please try your flow with manual parameters and fix any issues
Publish the flow
Create the Agent
Now you can create your knowledge agent.
Open agents
Click on new agent
Within the agent, add a meaningful title, description, and instructions.
The title will be visible later on to all usersClick on or browse to knowledge
Click on Add knowledge
Add your Graph connectors (for instance our RheinInsights Jira and Confluence connectors)
Click on or browse to tools
Click on Add a tool
Choose flow
Choose your flow from above
Click on save
Test your agent
Afterwards publish the agent to your Copilot
Click on Publish / Publish your agent
Choose Teams and Microsoft 365 Copilot
Click on Save
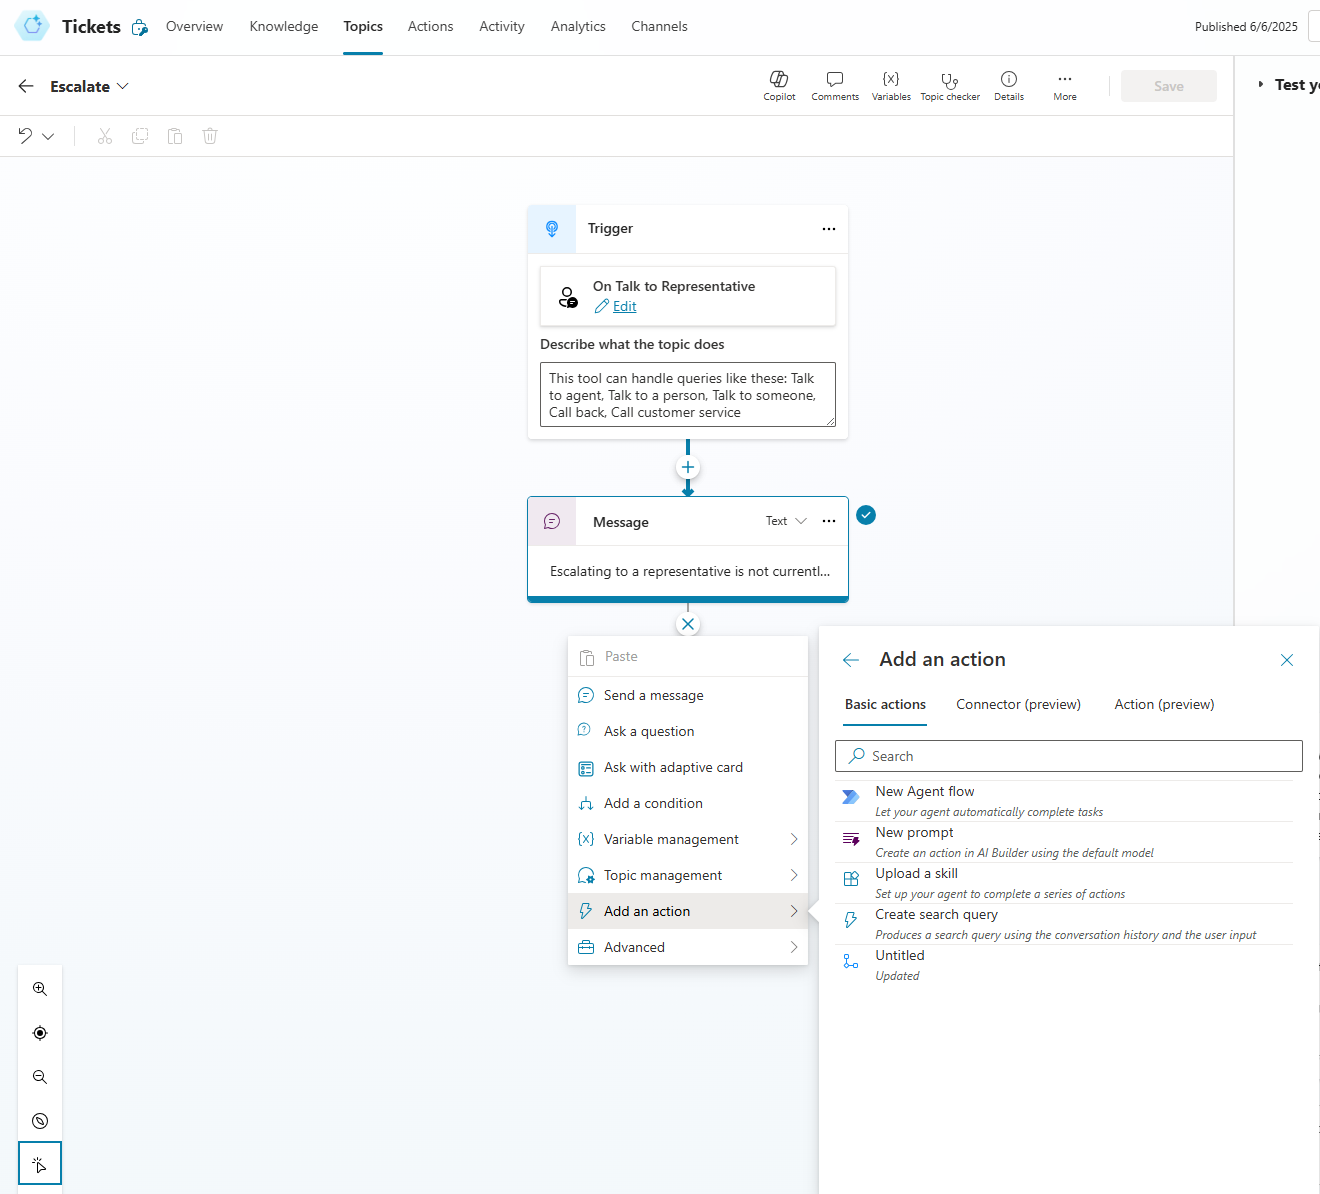
Escalation
The bot will now surface your Jira and Confluence knowledge. However, it does not yet automatically create tickets unless someone asks (“create a ticket”).
In order to create tickets when no good answer is provided from the knowledge, you can add your Flow to the escalation process. Then, the bot will propose creating a new ticket if it does not offer a good answer.